Pocket Ninja Journal
Bounce Em Balls: A Beginner's Guide to the Neon Brick Breaker
· Updated · 8 min read

Bounce Em Balls is easy to pick up and deceptively deep. This guide covers aiming, paddle control, how broken bricks multiply your balls, what every power-up actually does, and how score and best score work.
The core loop, in five steps
- Aim your shot. Drag anywhere on the screen to point the straight aim line from the ball on your paddle, then release to shoot. The line shows direction only, not where the ball will bounce.
- Break bricks. Every normal brick you destroy spawns a new ball, up to 60 at once. A number on a brick shows how many hits it still needs, and steel shield bricks can't be destroyed.
- Keep balls in play. Slide your finger to move the paddle. Where a ball lands on the paddle sets its new angle, and the run ends when every ball has fallen past it.
- Catch power-ups. Broken bricks sometimes drop a lettered capsule. Catch it with the paddle and the power-up activates immediately.
- Clear the level. Destroy every breakable brick to clear the level, unlock the next one and record your best score.
That's it. The bricks never move down, so the only thing that can end a run is running out of balls.
Aiming the first shot
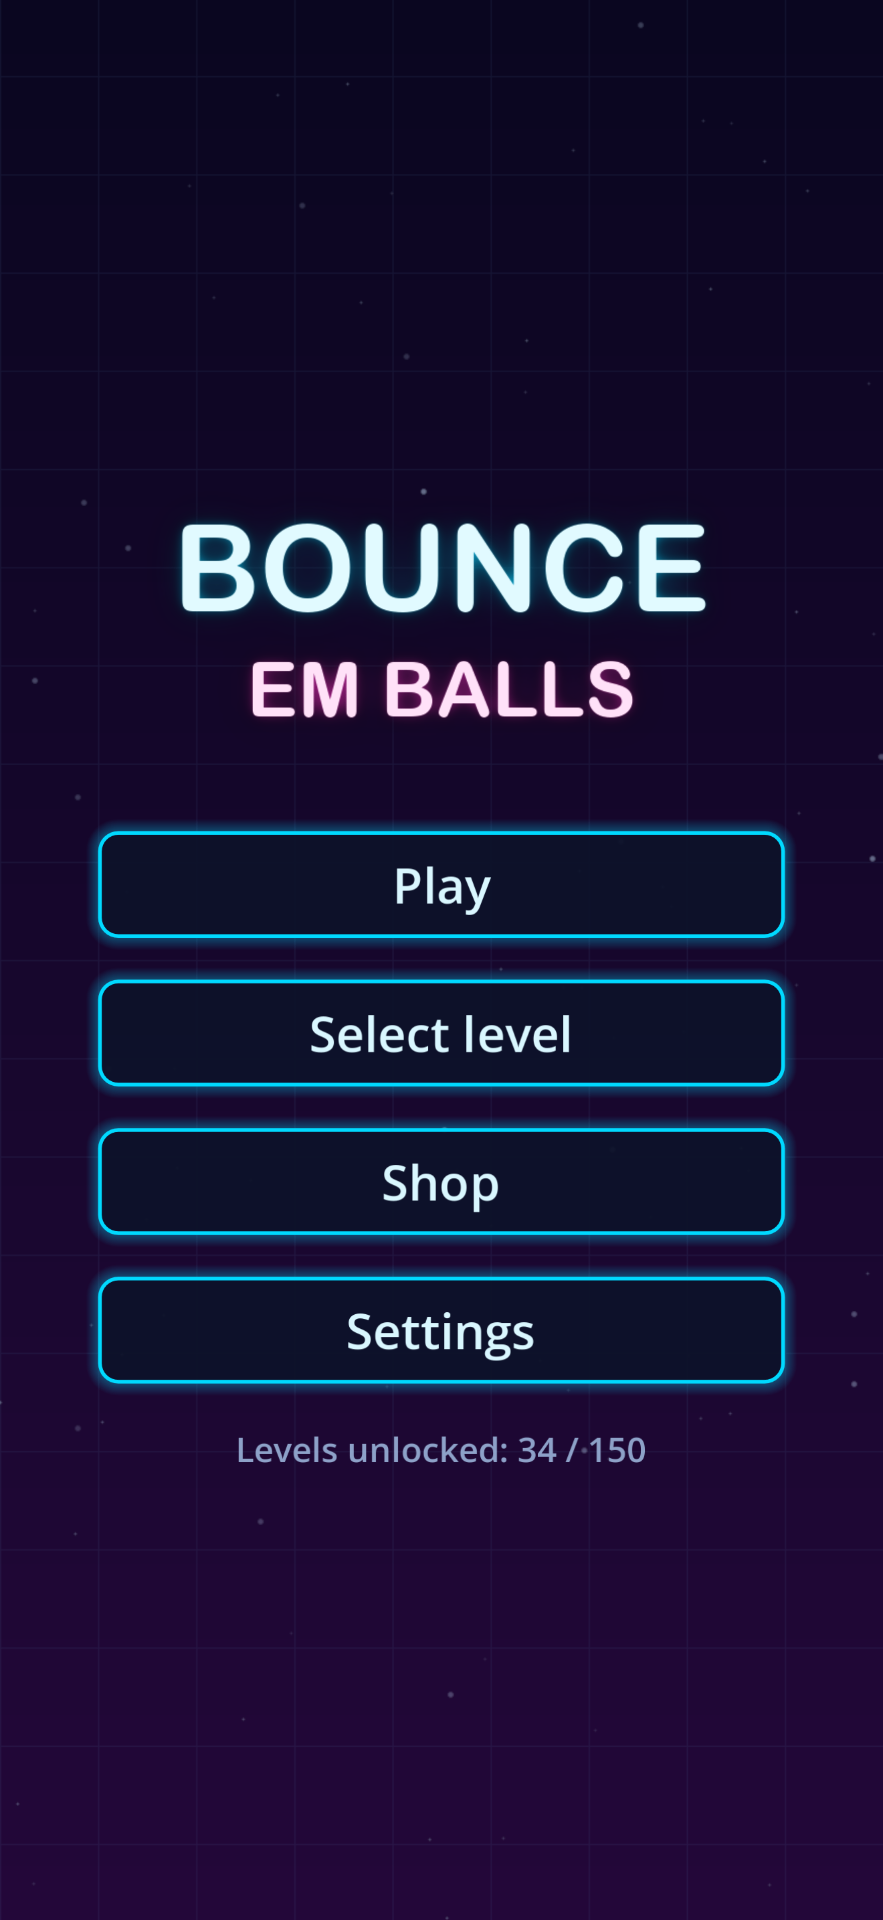
Every level (and every revive) starts with one ball sitting on your paddle. Touch and drag anywhere on the screen and a straight aim line points from the ball towards your finger. Let go and the ball fires in that direction. Dragging while you aim turns the line; it doesn't move the paddle, so the shot always leaves from wherever the paddle already is.
The line is only a direction — there is no bounce preview — and it won't point sideways or down: the game always keeps the shot climbing at least slightly. Aim for a spot where the first ball will break normal bricks quickly, because every one it destroys adds a ball. A first shot straight into a steel shield just comes back with nothing to show for it.
Steering with the paddle
Once the ball is flying, sliding your finger moves the paddle, and a tap sends it towards where you touched. It glides after your finger rather than jumping, so start moving early.
The paddle isn't a flat mirror. Where a ball lands on it decides the new angle: near the centre sends it almost straight up, and the further out towards an edge, the wider it goes, up to about 58° from vertical at the very ends. The game also stops balls from travelling too flat, so they never skate endlessly from wall to wall.
Ball speed stays the same throughout a level, but each level starts a little faster than the one before until it tops out around level 30. If the later levels feel frantic, that's why.
How one shot becomes thirty balls
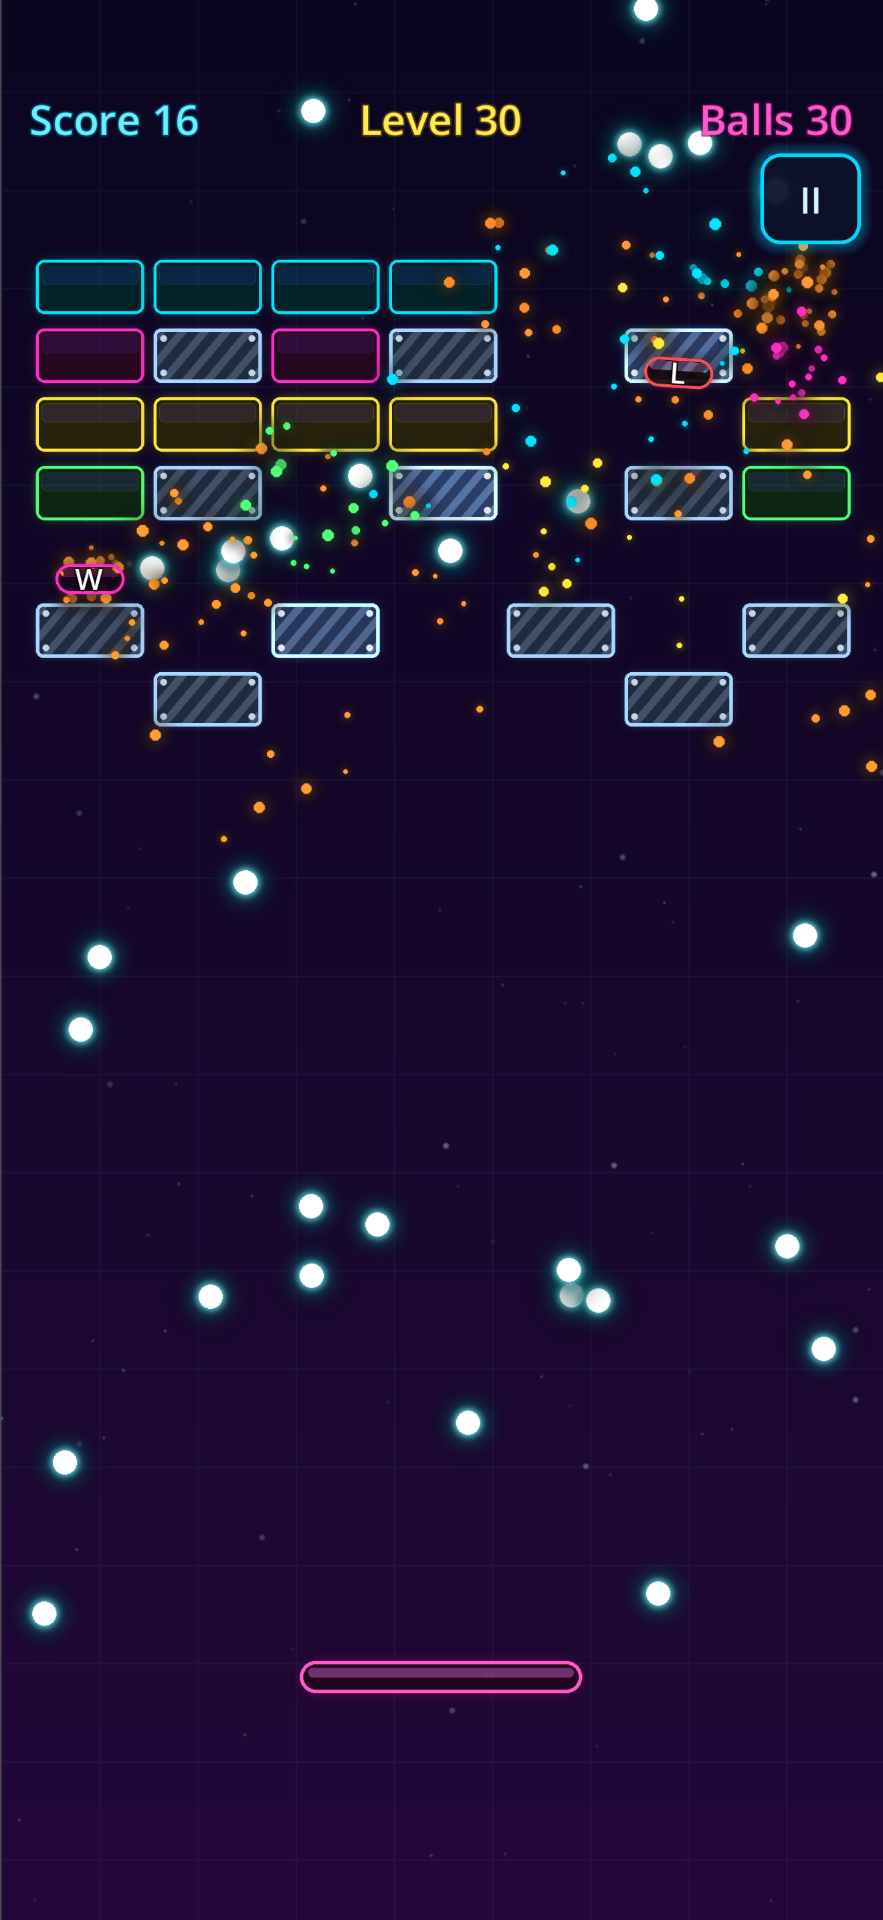
Every time you destroy a normal brick, a new ball bursts out of it and flies off at a random angle, away from the side that was hit. Those balls break more bricks, which make more balls. You can have up to 60 balls in play at once, and the Balls counter at the top of the screen shows how many are left.
Only destroying a brick counts. Knocking a point of armour off a numbered brick or bouncing off a steel shield doesn't spawn anything. Bricks wiped out by a bomb blast do spawn balls, though. Extra balls only last for the level you're on.
Read the bricks before you shoot
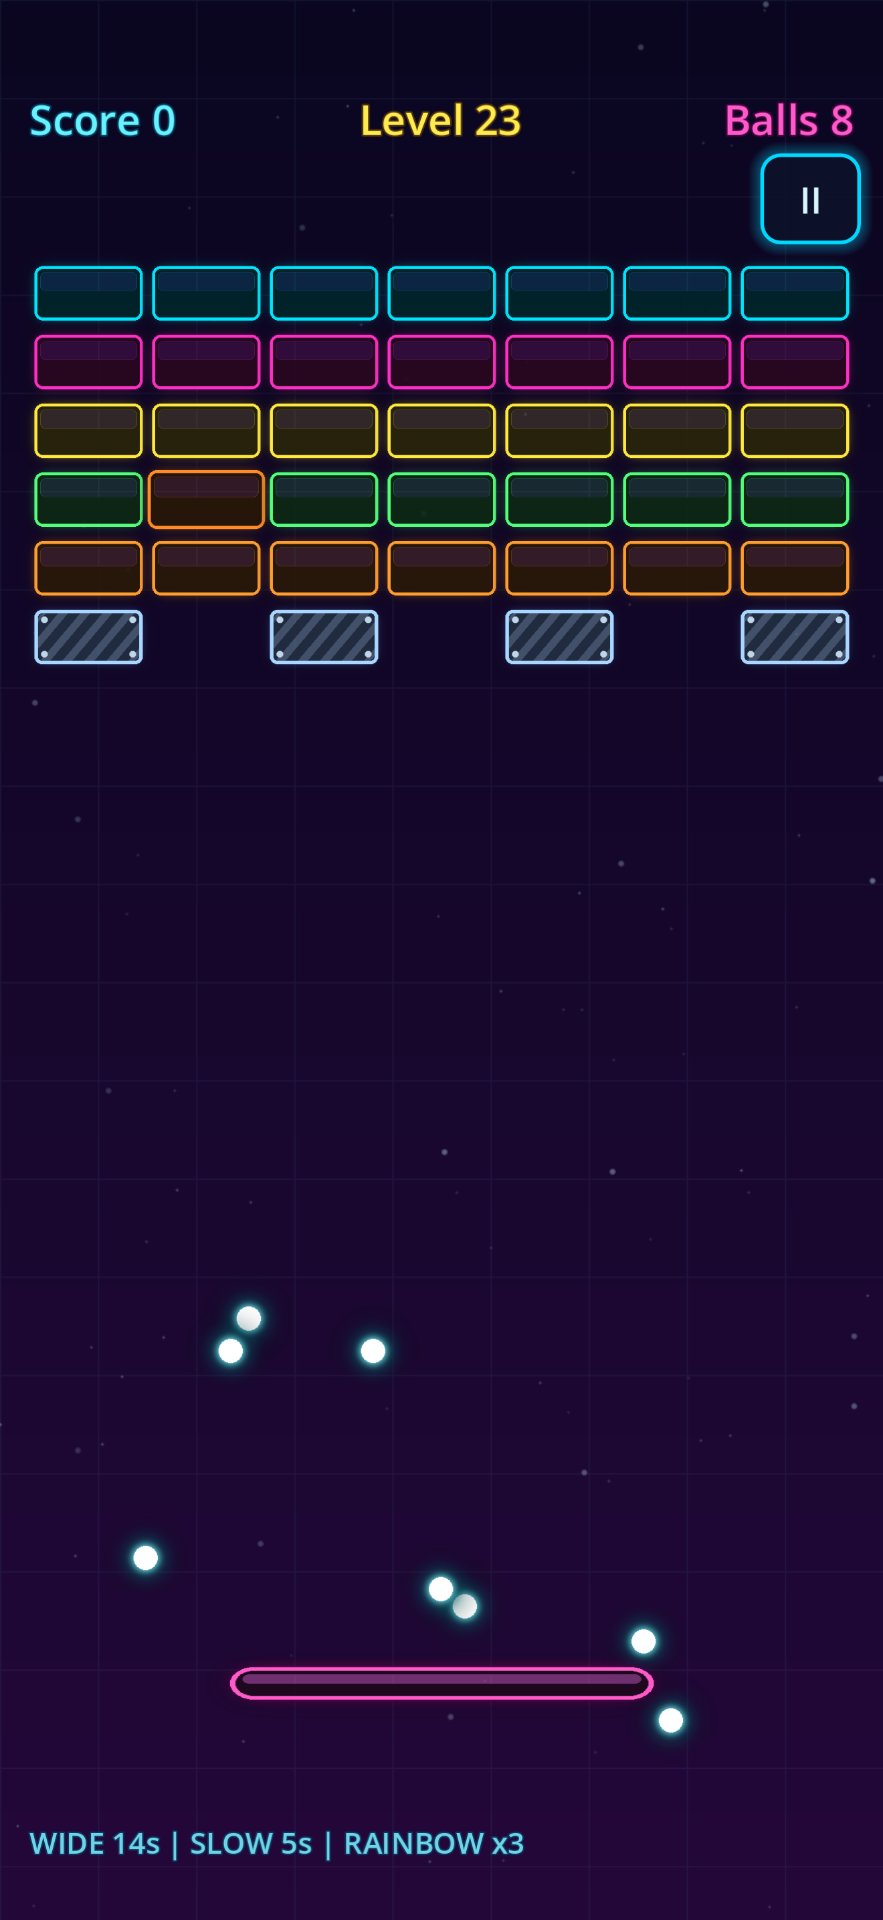
- Plain bricks: one hit and they're gone. Each one is worth a new ball and 1 point.
- Numbered bricks: from level 5, some bricks carry armour. The number shows how many hits are left and only appears when a brick needs more than one. Later levels roll tougher bricks, up to four hits.
- Steel shields: the striped, riveted bricks can't be destroyed. They bounce balls away, never spawn a ball and don't need clearing — a level is done when the breakable bricks are gone.
- Bombs: from level 4, the pulsing orange bricks. A bomb breaks in one hit and destroys the bricks directly above, below, left and right of it, ignoring their armour. A bomb caught in the blast goes off too, so neighbouring bombs chain. Shields survive every blast.
Bombs and armour are rolled each time a level starts, so retrying a level can give you a slightly different board.
Power-ups: catch them, don't save them
Every brick you destroy has a 12% chance to drop a lettered capsule. It falls straight down; catch it with the paddle and it activates on the spot. Miss it and it's gone — there's no inventory. Timed power-ups show a countdown at the bottom of the screen. Several can run at once, and catching a timed power-up that's already running restarts its countdown rather than adding to it. Multiball and Wide are the most common drops; Rainbow and Shrink are the rarest.
- Multiball (M): every ball on screen spawns another. Worth far more when you already have a swarm.
- Wide (W): the paddle is 1.5× wider for 15 seconds.
- Safety Net (N): a solid floor that balls bounce off for 6 seconds. Use it to chase a capsule across the screen without losing anything.
- Fireball (F): for 8 seconds, balls pass straight through bricks and destroy any brick except steel shields in one touch, armour included.
- Slow Motion (S): the whole game runs at 55% speed for 6 seconds. Handy for rescuing a scattered swarm.
- Magnet (G): for 8 seconds, balls that land on the paddle stick to it, ride along as you move, and relaunch roughly straight up after about a second. Carry them under the bricks you want.
- Laser (L): for 10 seconds the paddle fires two bolts every 0.7 seconds, automatically. Each bolt hits the first brick in its path for 2 damage, so park the paddle under armoured bricks.
- Double Score (2X): every destroyed brick scores double for 15 seconds.
- Rainbow (R): the next 3 bricks you destroy spawn 3 balls each instead of one.
- Shrink (K): steel shield bricks shrink for 10 seconds, leaving more room around them.
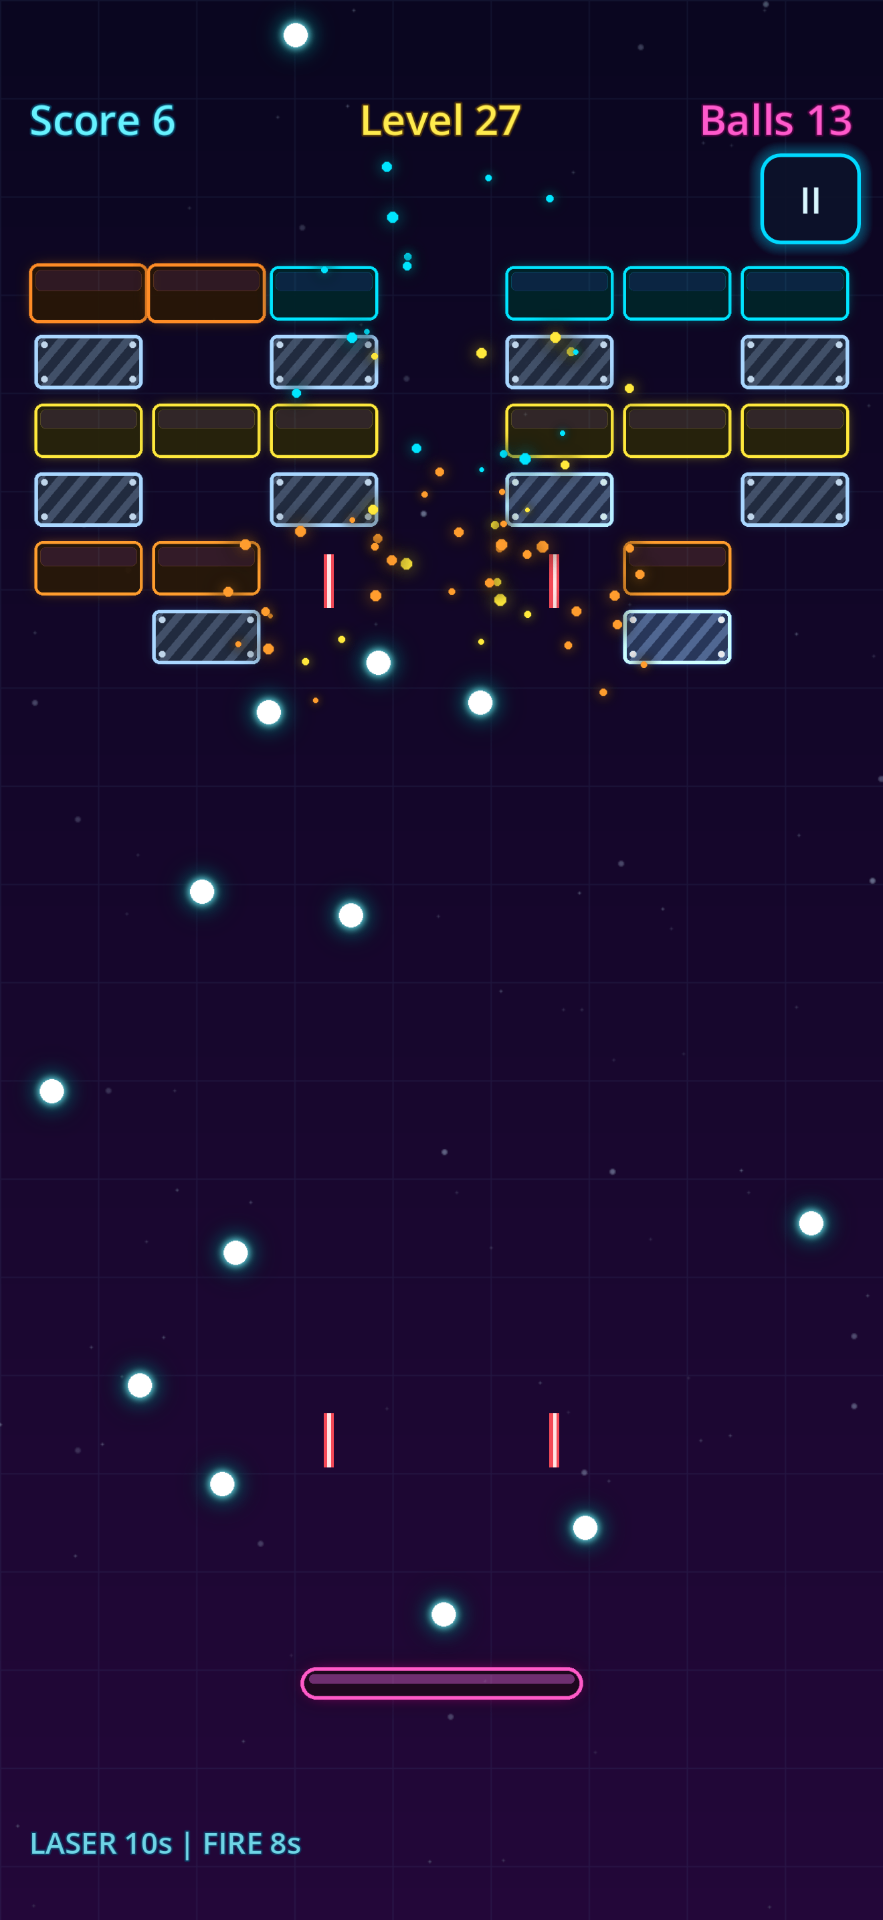
Laser + Fireball
The best pair for armoured walls: bolts chip away from below while piercing balls tear through from inside. Neither can break steel shields.
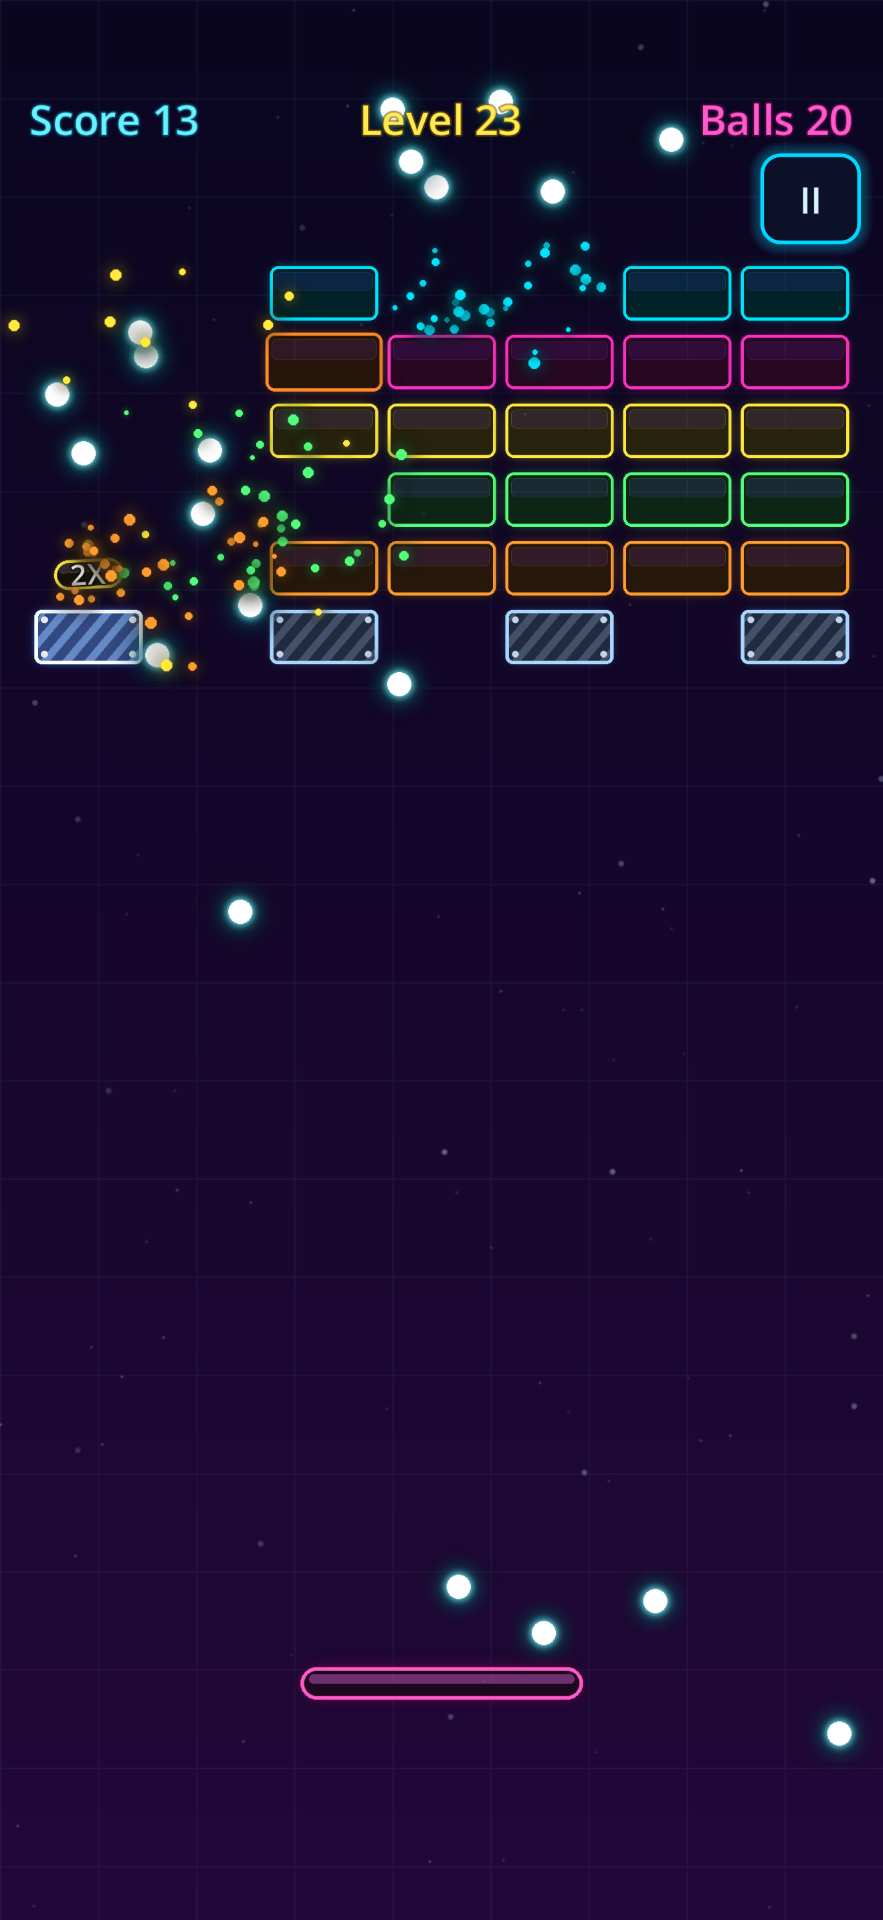
Double Score (2X)
The only power-up that raises your score directly. When it lands, keep balls on the densest part of the wall — and set off a bomb if you can reach one.
Game over, and when a revive is worth it
The run ends the moment your last ball falls past the paddle. From the game over screen you can retry the level from scratch or go back to the menu. If ads are on and a rewarded ad is ready, you'll also get the option to continue: watch the ad to the end and a new ball appears on your paddle, ready to aim. The bricks you broke stay broken and your score is kept. Close the ad early and there's no revive.
A revive is worth it when most of the wall is already gone or you're on course for a new best score, since retrying resets your score to zero. It's less useful on a nearly full board, where a fresh retry rolls new bombs and armour anyway. Timed power-ups keep counting down while the ad plays, so don't expect them to still be running afterwards. With Remove Ads purchased there are no rewarded ads, so there's no continue — just retry.
The scoring math
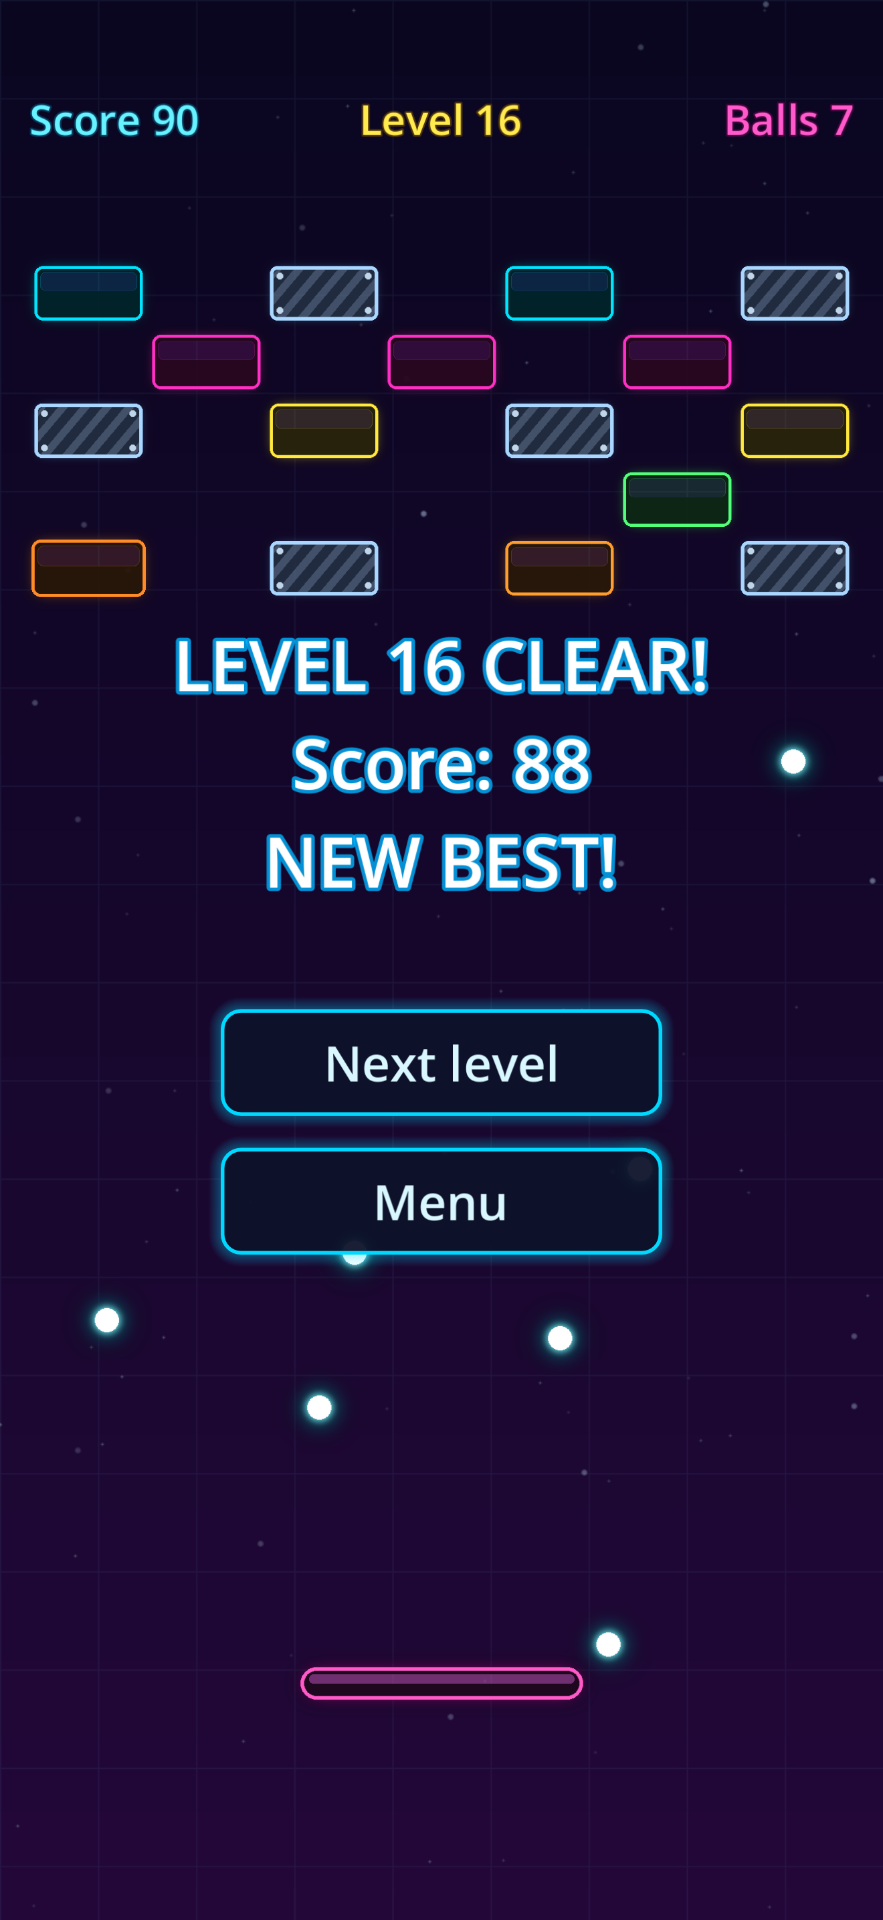
Each destroyed brick scores its hit points: 1 for plain bricks and bombs, 2 to 4 for armoured ones. Double Score doubles that while it runs. Chipping armour, bouncing off shields and keeping lots of balls alive score nothing on their own, and there are no combo or chain bonuses. Score starts at zero on every level.
Your best score for each level is saved on your device when you clear it — a game over doesn't record anything. Because every breakable brick has to go to clear a level, the base score for a clear is set by the bricks on the board. What separates a good clear from a great one is how many bricks you destroy while 2X is running, plus how much armour the level rolled.
Five habits that lift your average score
- Guard the lowest balls first. The balls closest to the bottom are the ones about to cost you. Let the high ones look after themselves.
- Use the edges of the paddle on purpose. Centre hits go straight up; edge hits send balls wide. Choose which one the wall needs.
- Don't trade your last balls for a capsule. A power-up is never worth losing the run. With a big swarm, though, go get it.
- Hit bombs next to armour. A blast destroys its neighbours outright, however many hits they had left.
- Save your focus for 2X. Double Score is the most reliable way to push a level's best score higher, so make those 15 seconds count.
Bounce Em Balls
A neon brick breaker for iPhone. One thumb, one paddle, and a swarm of balls that grows with every brick you break. Free on the App Store.

Frequently asked
What is Bounce Em Balls?
A free neon brick breaker for iPhone. You shoot a ball off your paddle, every normal brick you destroy spawns another ball, and you work through 150 levels while keeping the swarm alive with the paddle.
How do you get more balls?
Destroy bricks. Every normal brick you break spawns one new ball, up to 60 at once. Multiball gives every ball on screen a twin, and Rainbow makes your next three destroyed bricks spawn three balls each. Balls don't carry over to the next level.
How does scoring work in Bounce Em Balls?
Each destroyed brick scores its hit points: 1 for plain bricks and bombs, 2 to 4 for armoured bricks, doubled while Double Score (2X) is active. There are no combo or chain bonuses. Your best score for each level is saved on your iPhone when you clear that level.
What do bomb bricks do?
Bomb bricks can appear from level 4. When one is destroyed it also destroys the bricks directly above, below, left and right of it, whatever their armour, and any bomb caught in the blast goes off too. Steel shield bricks are never destroyed.
Can I save power-ups for later?
No. A power-up activates the moment your paddle catches its capsule, and capsules you miss are gone. Several power-ups can run at the same time.
Does Bounce Em Balls work offline?
Yes. It plays without an internet connection and needs no account. Progress and best scores are stored only on your device. Buying or restoring Remove Ads needs a connection.
Made by Pocket Ninja Games.